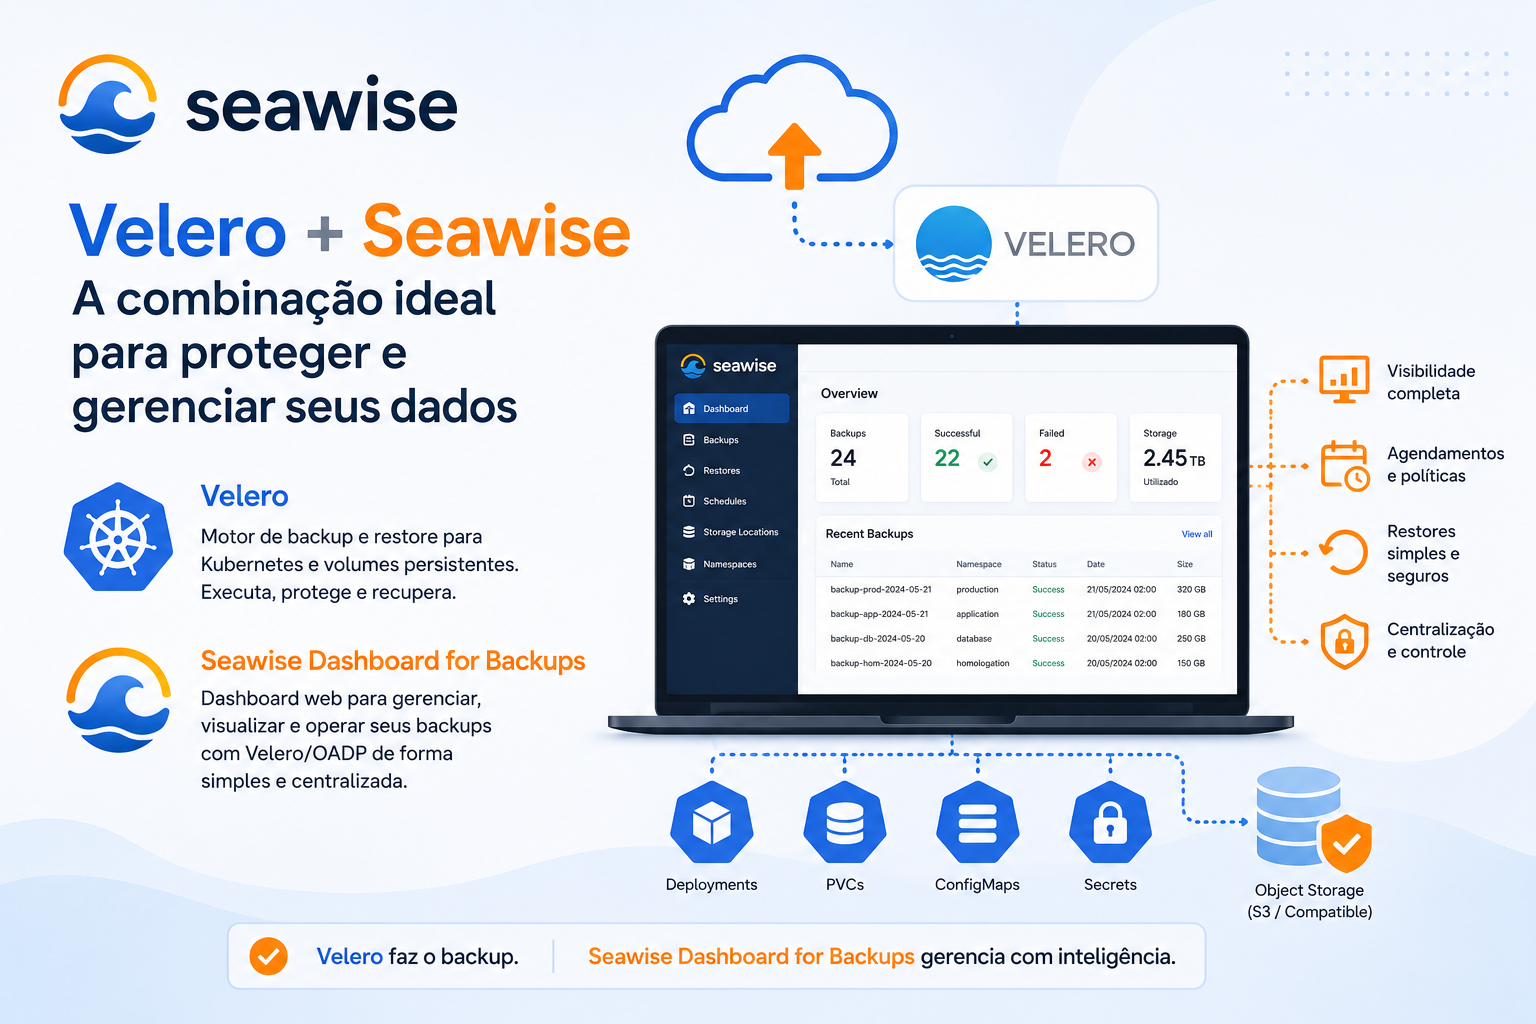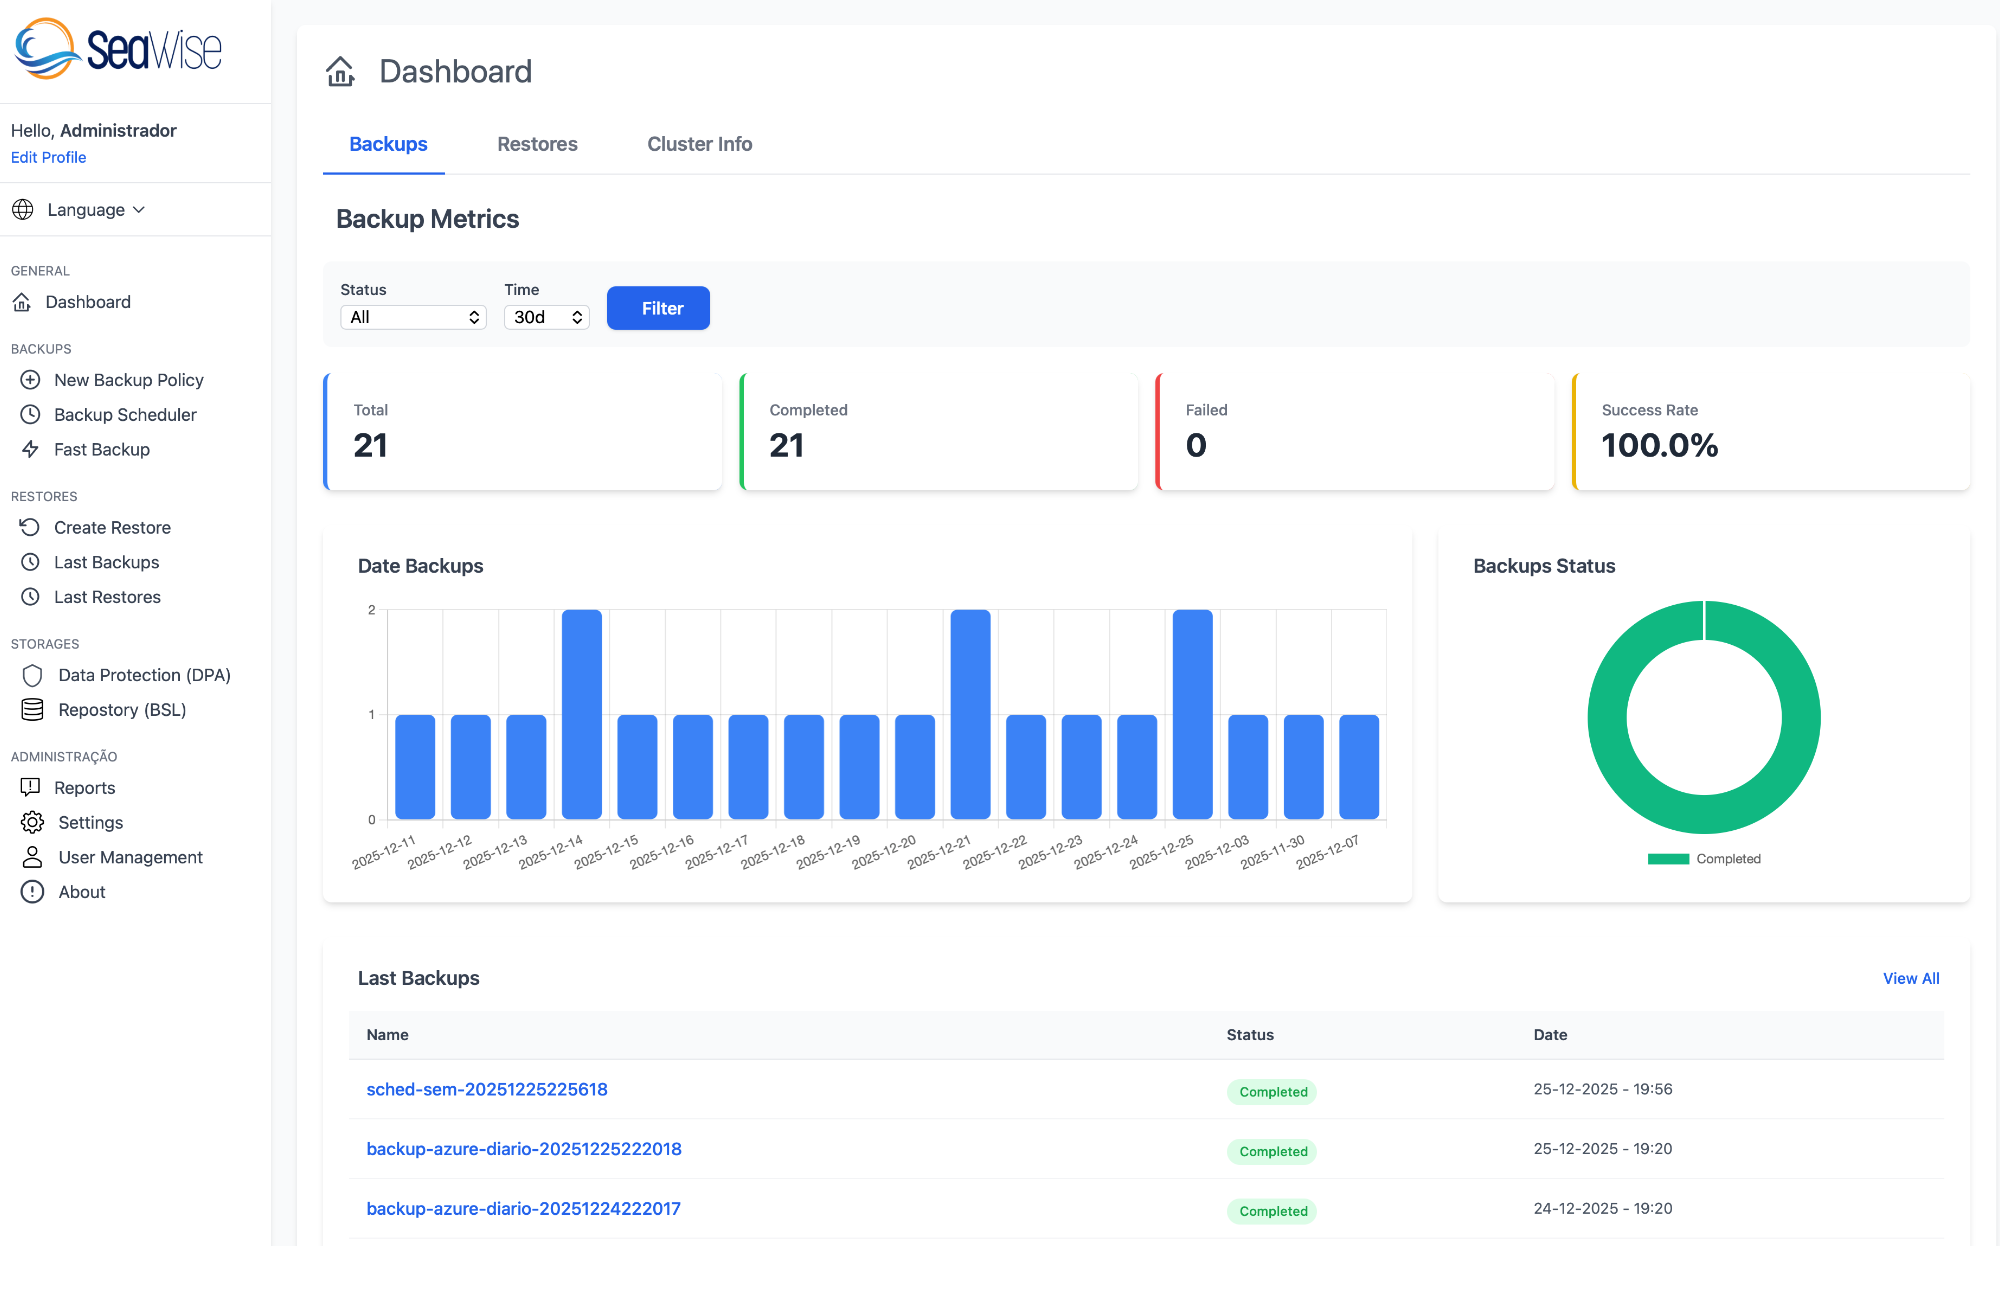
If you already use Kubernetes and want a more practical way to manage backup and restore operations, Seawise Backup is a useful layer on top of Velero and OADP. Instead of concentrating everything in CLI commands and YAML files, it provides a web interface to manage backups, restores, storage locations, reports, and operational visibility.
In this guide, the goal is simple: install Seawise Backup using the official Helm chart and validate that the dashboard is reachable.
Before you start
Before installing Seawise Backup, one point should be clear: Seawise is not the backup engine itself. It is the management interface. That means your cluster should already have the backup foundation in place, usually with Velero on Kubernetes or OADP on OpenShift.
You should also have:
- access to the cluster with
kubectloroc; helminstalled locally;- a valid StorageClass for persistence;
- Ingress available on Kubernetes/Rancher, or Route support on OpenShift.
Current version
For this guide, the version used is v1.6.6.
Installation on Kubernetes
For a standard Kubernetes cluster, the official installation uses Helm with Ingress enabled and nginx as the ingress class. The default namespace is seawise-app.
# Set the version
export CHART_VERSION=1.6.6
export STORAGE_CLASS=storage_class_name
export CLUSTER_HOST_NAME=host_name

helm upgrade --install seawise-dashboard \
  https://github.com/shwcloudapp/seawise-backup/releases/download/v${CHART_VERSION}/seawise-dashboard-${CHART_VERSION}.tgz \
  -n seawise-app --create-namespace \
  --set ingress.enabled=true \
  --set ingress.className=nginx \
  --set "ingress.hosts[0].host=${CLUSTER_HOST_NAME}" \
  --set 'ingress.hosts[0].paths[0].path=/' \
  --set 'ingress.hosts[0].paths[0].pathType=Prefix' \
  --set persistence.storageClassName=${STORAGE_CLASS}
Practical example:
export CHART_VERSION=1.6.6
export STORAGE_CLASS=longhorn
export CLUSTER_HOST_NAME=seawise.example.com
Then run the Helm command above.
Installation on OpenShift
In OpenShift, the installation is slightly different because Seawise works with OADP, and the official flow enables a Route instead of Ingress. It also sets app.veleroNamespace=openshift-adp, which is commonly the OADP namespace.
# Set the version
export CHART_VERSION=1.6.6
export STORAGE_CLASS=storage_class_name

helm upgrade --install seawise-dashboard \
  https://github.com/shwcloudapp/seawise-backup/releases/download/v${CHART_VERSION}/seawise-dashboard-${CHART_VERSION}.tgz \
  -n seawise-app --create-namespace \
  --set app.veleroNamespace=openshift-adp \
  --set route.enabled=true \
  --set persistence.storageClassName=${STORAGE_CLASS}
If your OADP installation uses another namespace, adjust app.veleroNamespace correctly. Otherwise Seawise may install successfully but fail to find Velero afterward.
Installation on Rancher
For Rancher, the process is similar to generic Kubernetes, with Ingress enabled and a configured host.
# Set the version
export CHART_VERSION=1.6.6
export STORAGE_CLASS=storage_class_name
export CLUSTER_HOST_NAME=host_name

helm upgrade --install seawise-dashboard \
  https://github.com/shwcloudapp/seawise-backup/releases/download/v${CHART_VERSION}/seawise-dashboard-${CHART_VERSION}.tgz \
  -n seawise-app --create-namespace \
  --set ingress.enabled=true \
  --set ingress.hosts[0].host=${CLUSTER_HOST_NAME} \
  --set 'ingress.hosts[0].paths[0].path=/' \
  --set 'ingress.hosts[0].paths[0].pathType=Prefix' \
  --set persistence.storageClassName=${STORAGE_CLASS}
How to validate the installation
After the Helm deployment, the first step is to check whether the pod is running and whether Seawise created the expected access resource.
kubectl get pods -n seawise-app
kubectl get ingress -n seawise-app
On OpenShift:
oc get route -n seawise-app
To get the exact URL on OpenShift:
oc get route -n seawise-app seawise-dashboard -o jsonpath='{.spec.host}'
echo ""
For Kubernetes or Rancher:
kubectl get ingress -n seawise-app seawise-dashboard -o jsonpath='{.spec.rules[0].host}'
echo ""
First login
After installation, Seawise presents a login screen with default credentials:
- Username:
admin - Password:
admin123
The password should be changed immediately. Seawise supports roles such as admin, backup, and viewer, so the right approach is to create individual users instead of sharing the default administrative account.
What to do after installation
Installing Seawise is only the beginning. Once the interface is up, the real work starts:
- confirm Seawise can see Velero or OADP;
- configure the Backup Storage Location (BSL);
- on OpenShift, validate or create the DPA;
- test a real backup;
- test a real restore.
A successful installation does not mean your backup strategy is working. It only means the dashboard is running.
How to update Seawise Backup
When a new version is published, upgrade it with Helm while reusing current values:
export CHART_VERSION=1.6.6

helm upgrade seawise-dashboard \
  https://github.com/shwcloudapp/seawise-backup/releases/download/v${CHART_VERSION}/seawise-dashboard-${CHART_VERSION}.tgz \
  -n seawise-app --reuse-values \
  --set image.tag=v${CHART_VERSION}
How to uninstall
To remove the application:
helm uninstall seawise-dashboard -n seawise-app
kubectl delete pvc -n seawise-app seawise-dashboard-pvc
The second command deletes persistent data and should not be used carelessly.
Conclusion
Installing Seawise Backup is straightforward. The Helm deployment is direct, the differences between Kubernetes, OpenShift, and Rancher are clear, and the tool provides a better operational layer on top of Velero and OADP.
But the main point is this: installation is easy; reliable backup is not. Seawise improves operations and visibility, but it does not replace correct storage design, retention policy, access control, and real restore testing.
Useful links
- Official website: https://seawise.cloud
- Documentation: https://seawise.cloud/docs
- GitHub: https://github.com/shwcloudapp/seawise-backup